In this post, we’ll go step-by-step through some of the best practices that can help you improve your 📸 images for SEO. To drive more traffic to your site or rank higher on the Search Engine Results Page (SERP) there are several things you can do. One of them is improving on-page SEO, and another one is optimizing your images.
Why You Should Improve Your Images for SEO
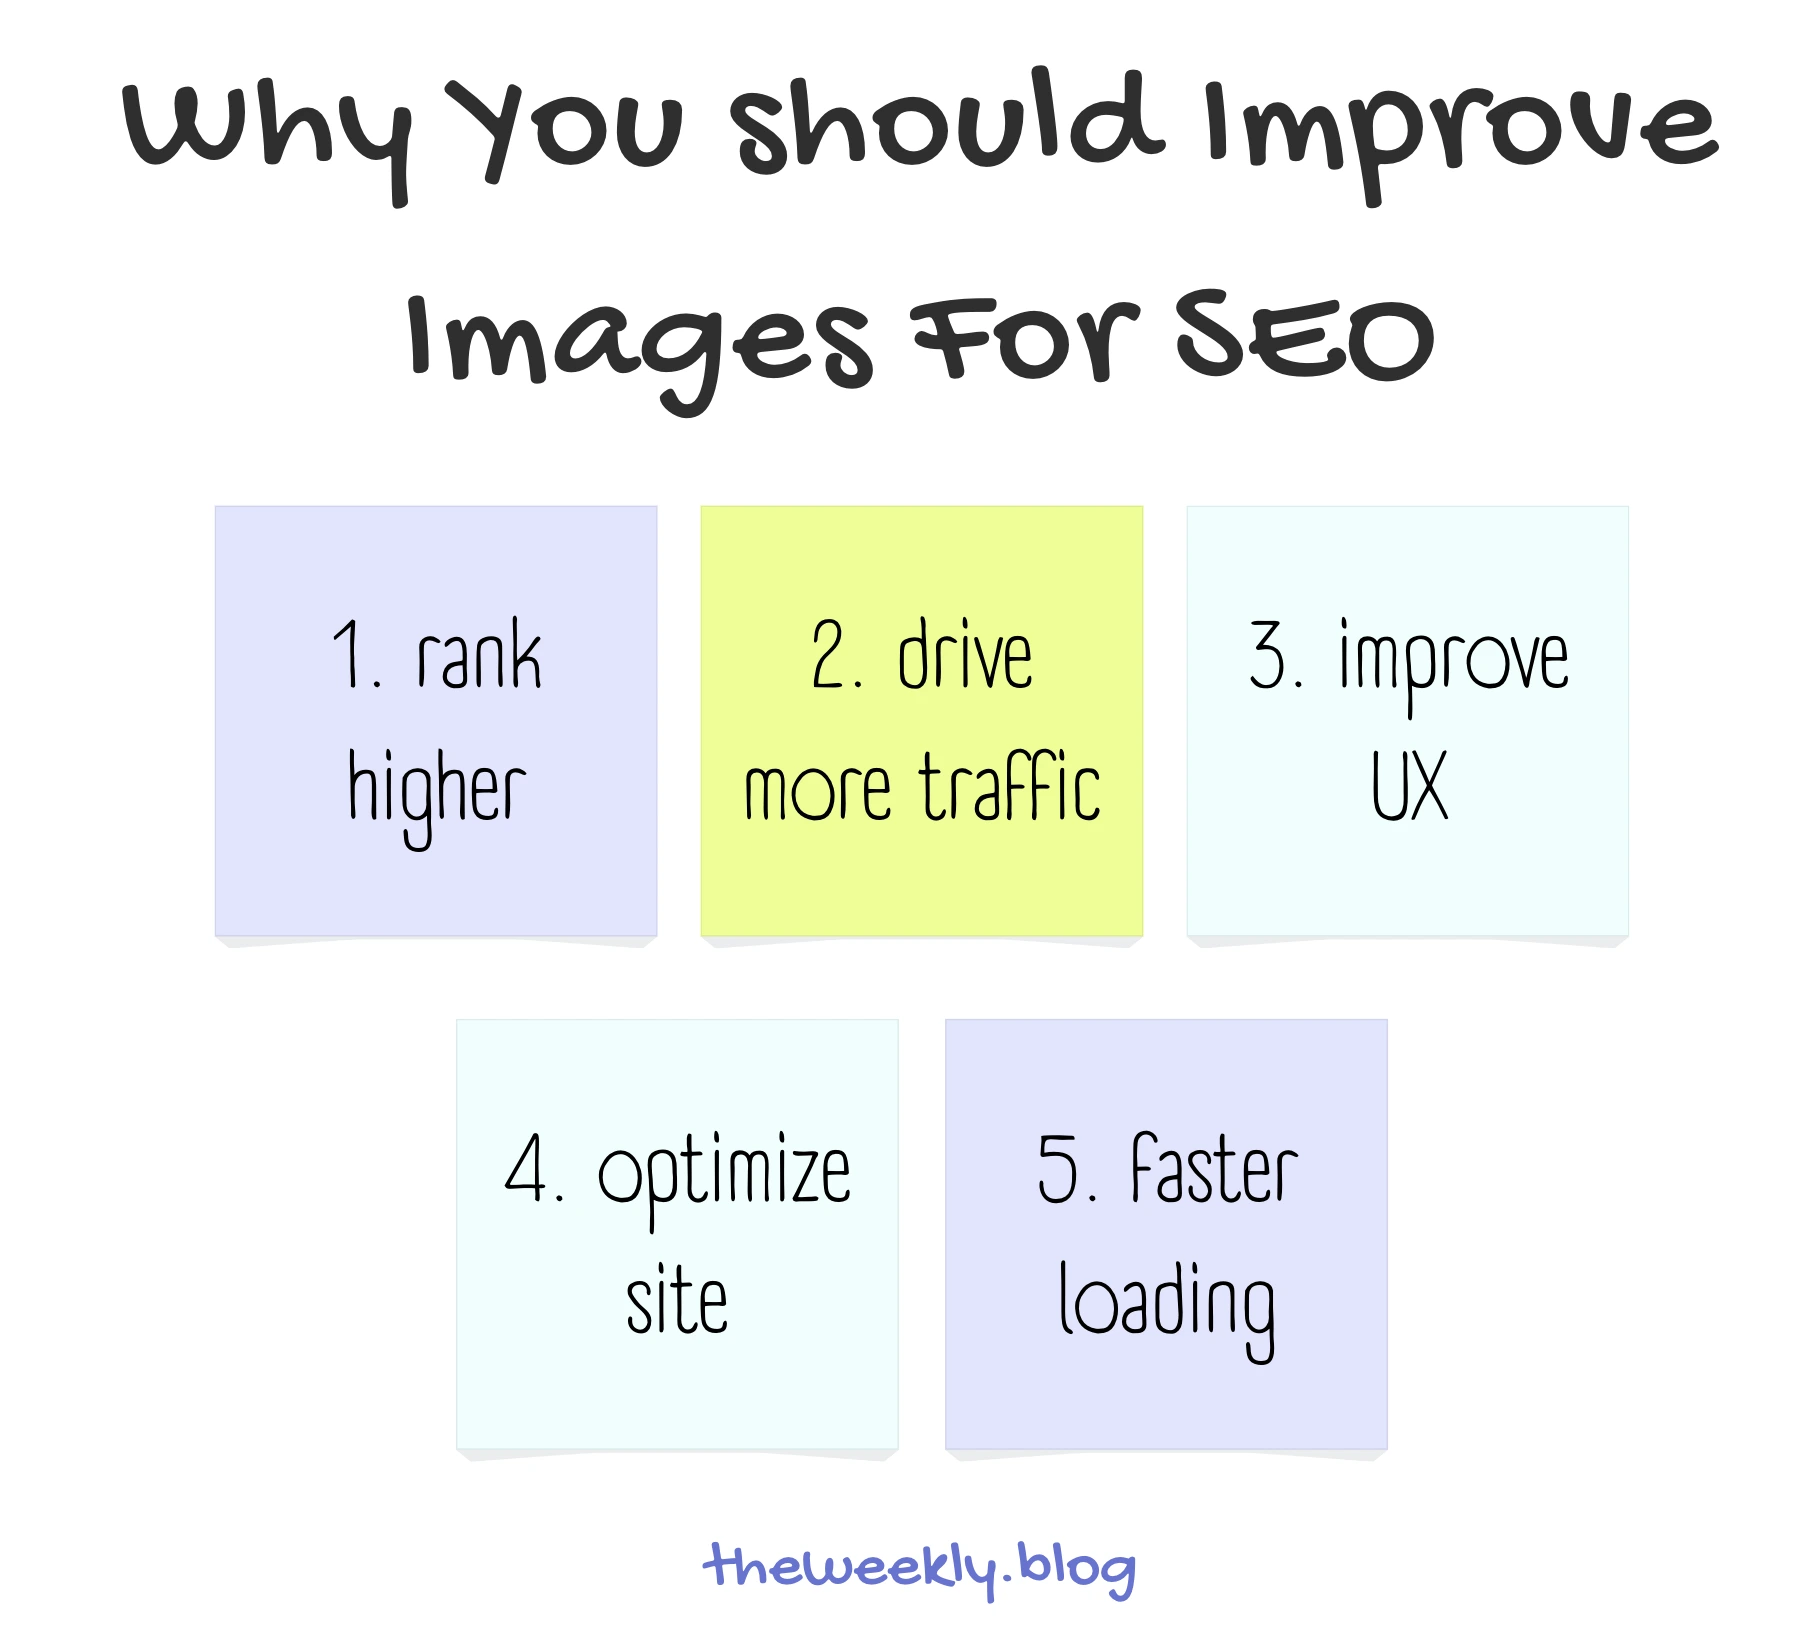
I’ll start with a quick overview of why you want to improve your images for SEO. For starters, there are two obvious reasons: to rank higher and drive more traffic to your site.
Besides those, you also want to improve the User Experience (UX) and metrics related to core web vitals, improve the overall site optimization, and achieve faster loading.
Remember, your images not only appear on your site, but they can also appear in the SERP (Search Engine Results Page) 🖥️. This can give your site more exposure and may also attract more clicks 🖱️. By following these best practices and ways to optimize your images, you can bring more eyes to your content.
How to Improve Your Images for SEO Step-By-Step
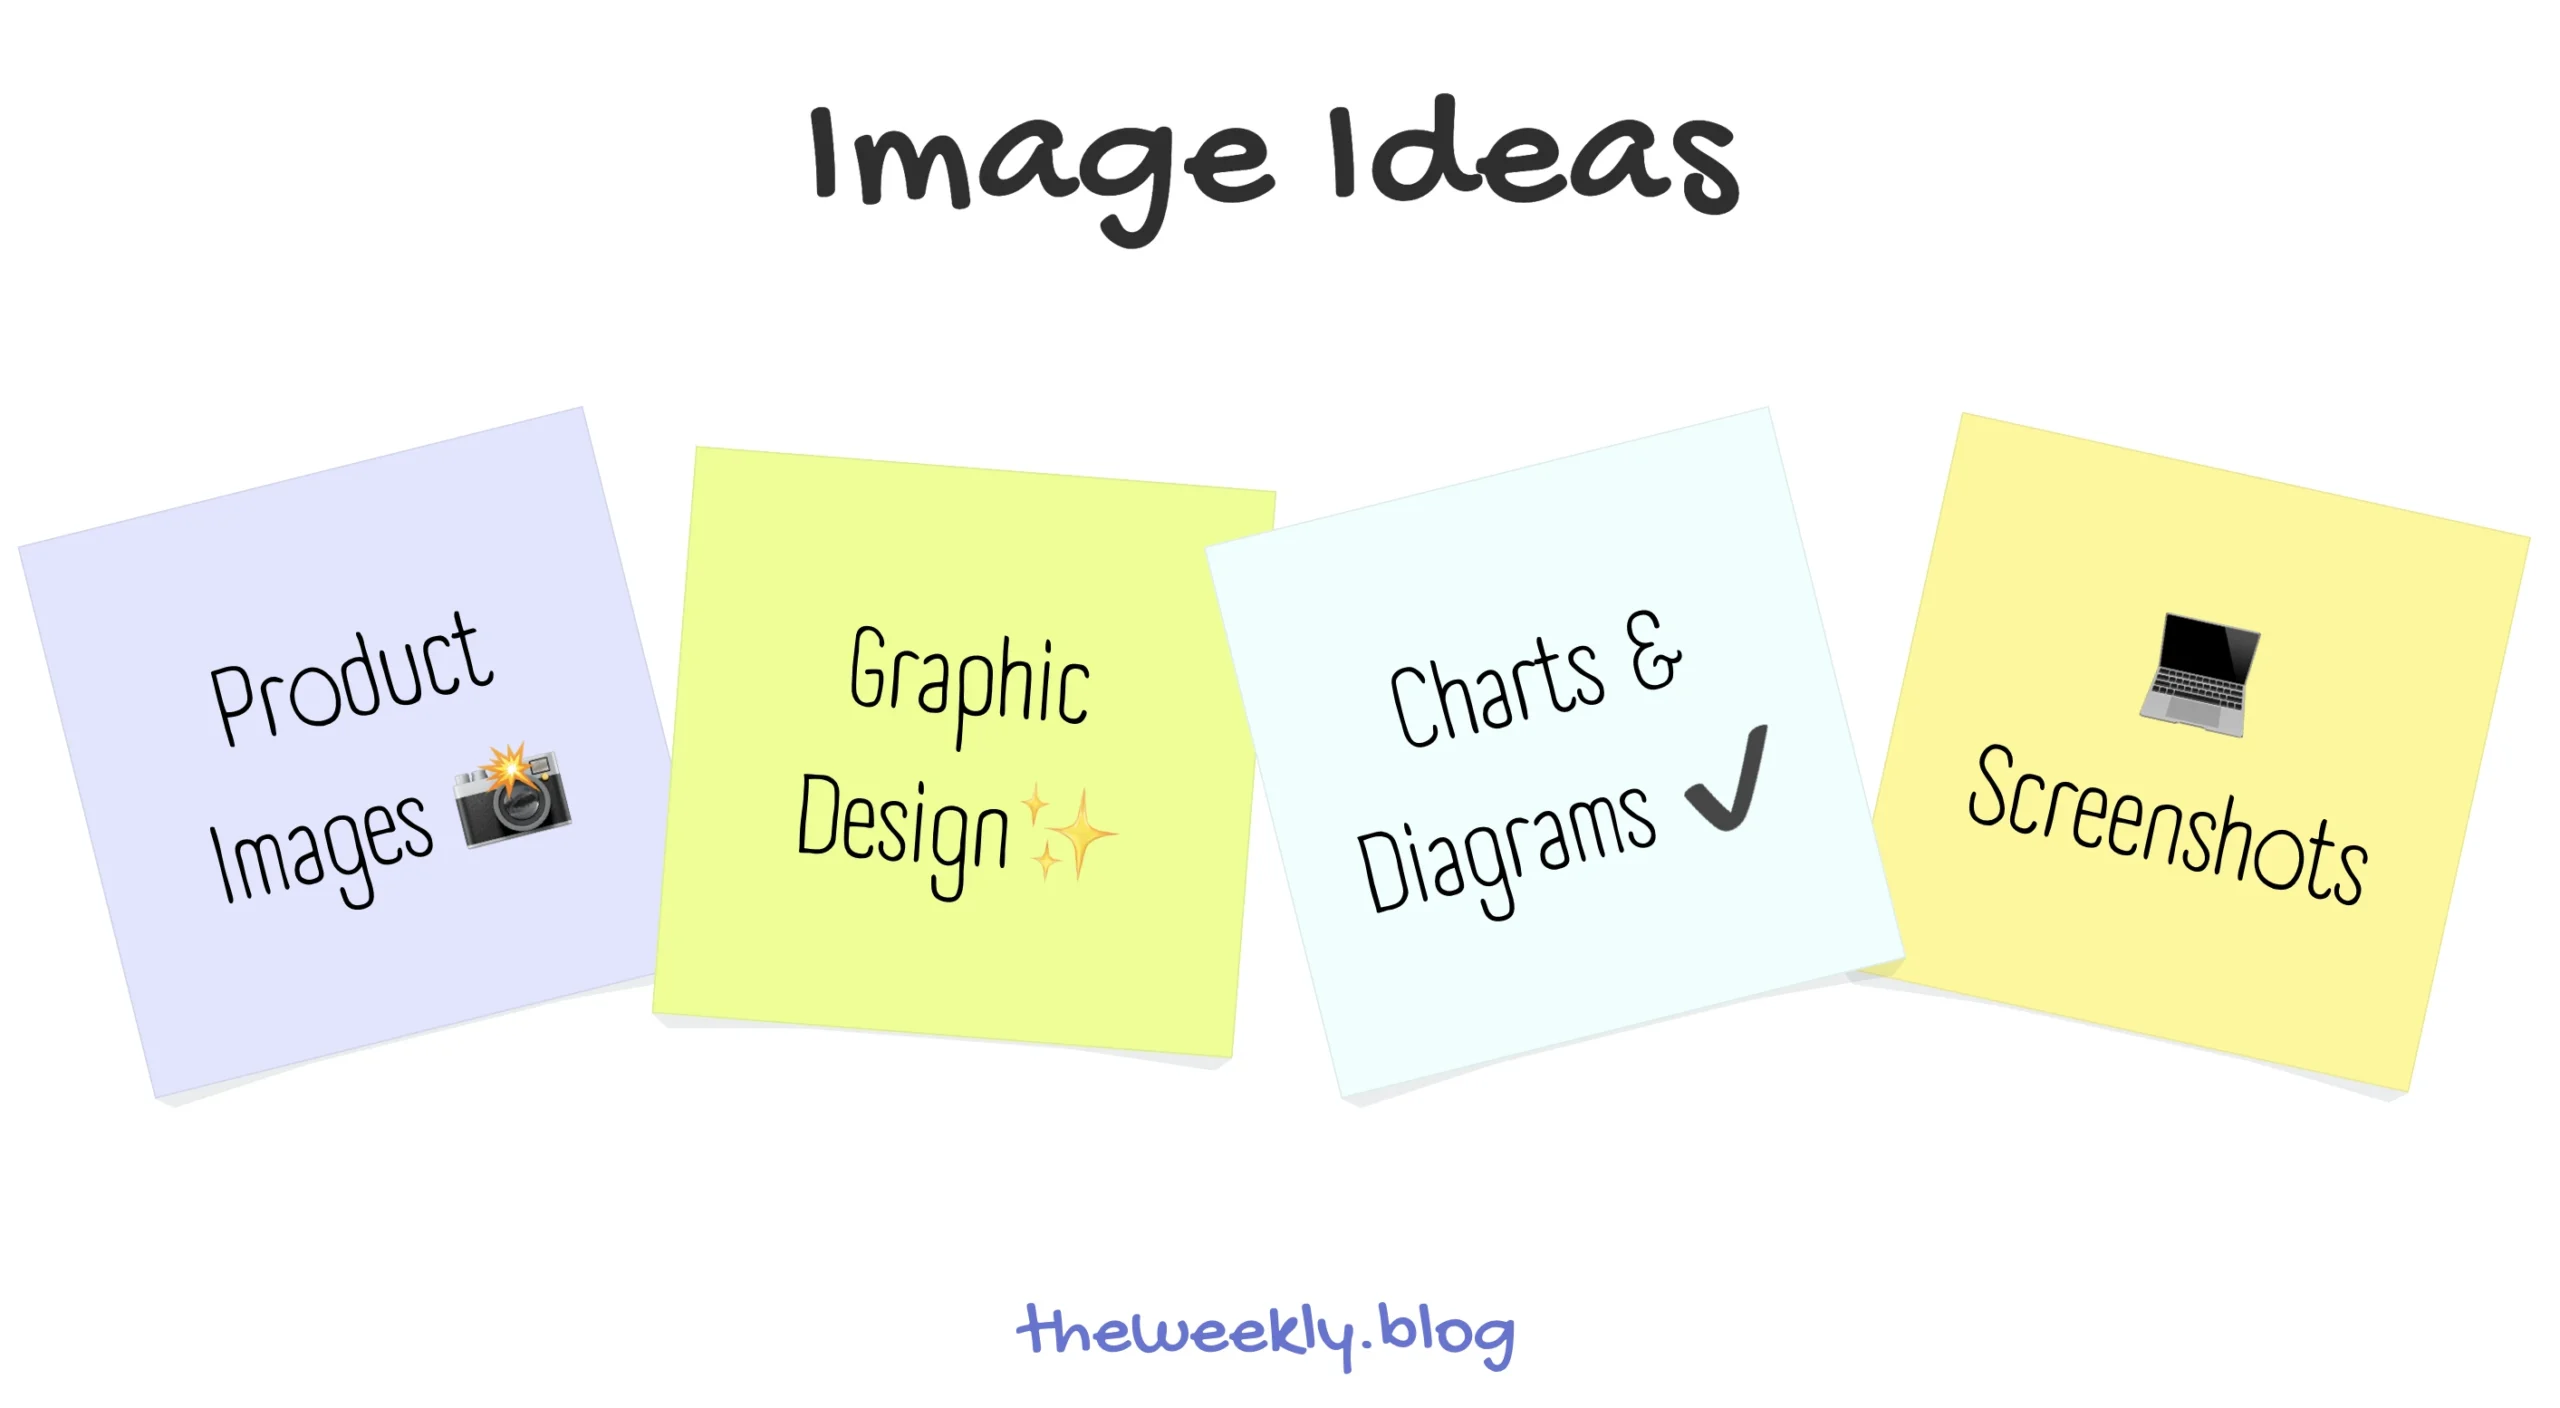
1. Choose the best type of image for your post or site 💻. This can be a photo of a product, a graphic design, chart, screenshot, and so on. Choose whichever best communicates your idea 💡. You can use an existing image or create your own, which is better since it allows you to offer unique value to your users.
- If you are using images from someone else, make sure you have permission to do so.
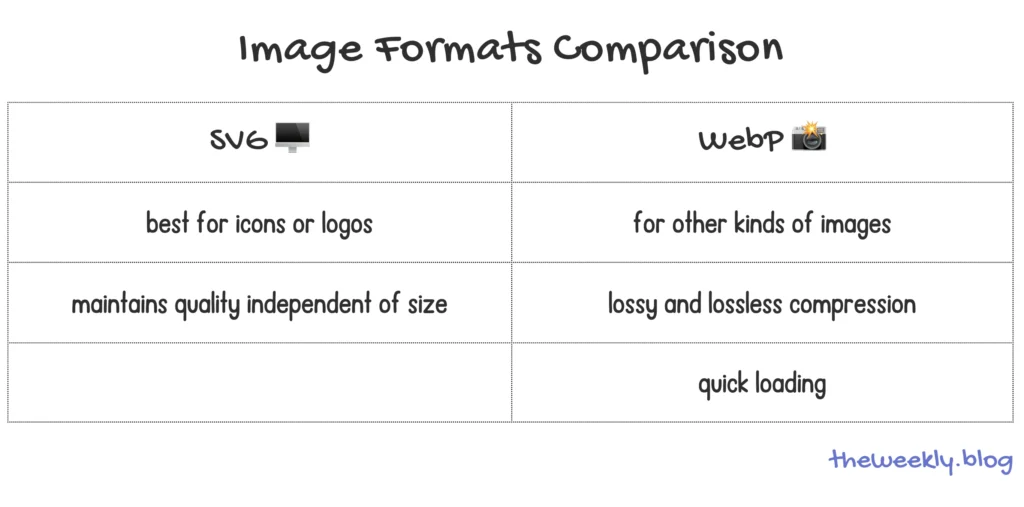
2. Choose the best format.
- SVGs: if you are using icons or logos, SVGs are your best option, they will maintain quality indifferent of the size.
- WebP: if you are using any other kind of image, WebP is a really good option. It uses lossy compression and lossless compression, ensuring the right balance between image size and quality. This format creates smaller file sizes so your site can load faster. Major search engines 🔍 support this format.
- To convert your images to WebP, you can use Squoosh. This is one of the 📲 image optimization tools you can use. More on it later.
3. Name your images. By default, you should name your image files 📄 using descriptive and concise names instead of leaving the file name as IMG_001.png. If you use a file name with multiple words, they will be separated by a hyphen; you can’t use spaces. This may seem very simple, but just by doing this, you are improving your web page.
4. Descriptive Alternative Text (Alt Text). Add alt text ⌨️ to the images. This is mainly used to improve accessibility. For example, people who are using text-to-speech tools will be able to know what your image is about through the alt text.
- Decorative images🙅🏻♀️ don’t need alt text, as reading the alt text could interrupt the reading or audible experience.
- It is recommended that your alt text 📝 is no longer than 125 characters.
- You don’t need to include the words “photo” or “image”, alt text by default refers to a photo or image.
- Google reads 🔍 your website, including the image file name, so you can leverage these two (name and alt text) to insert your keyword.
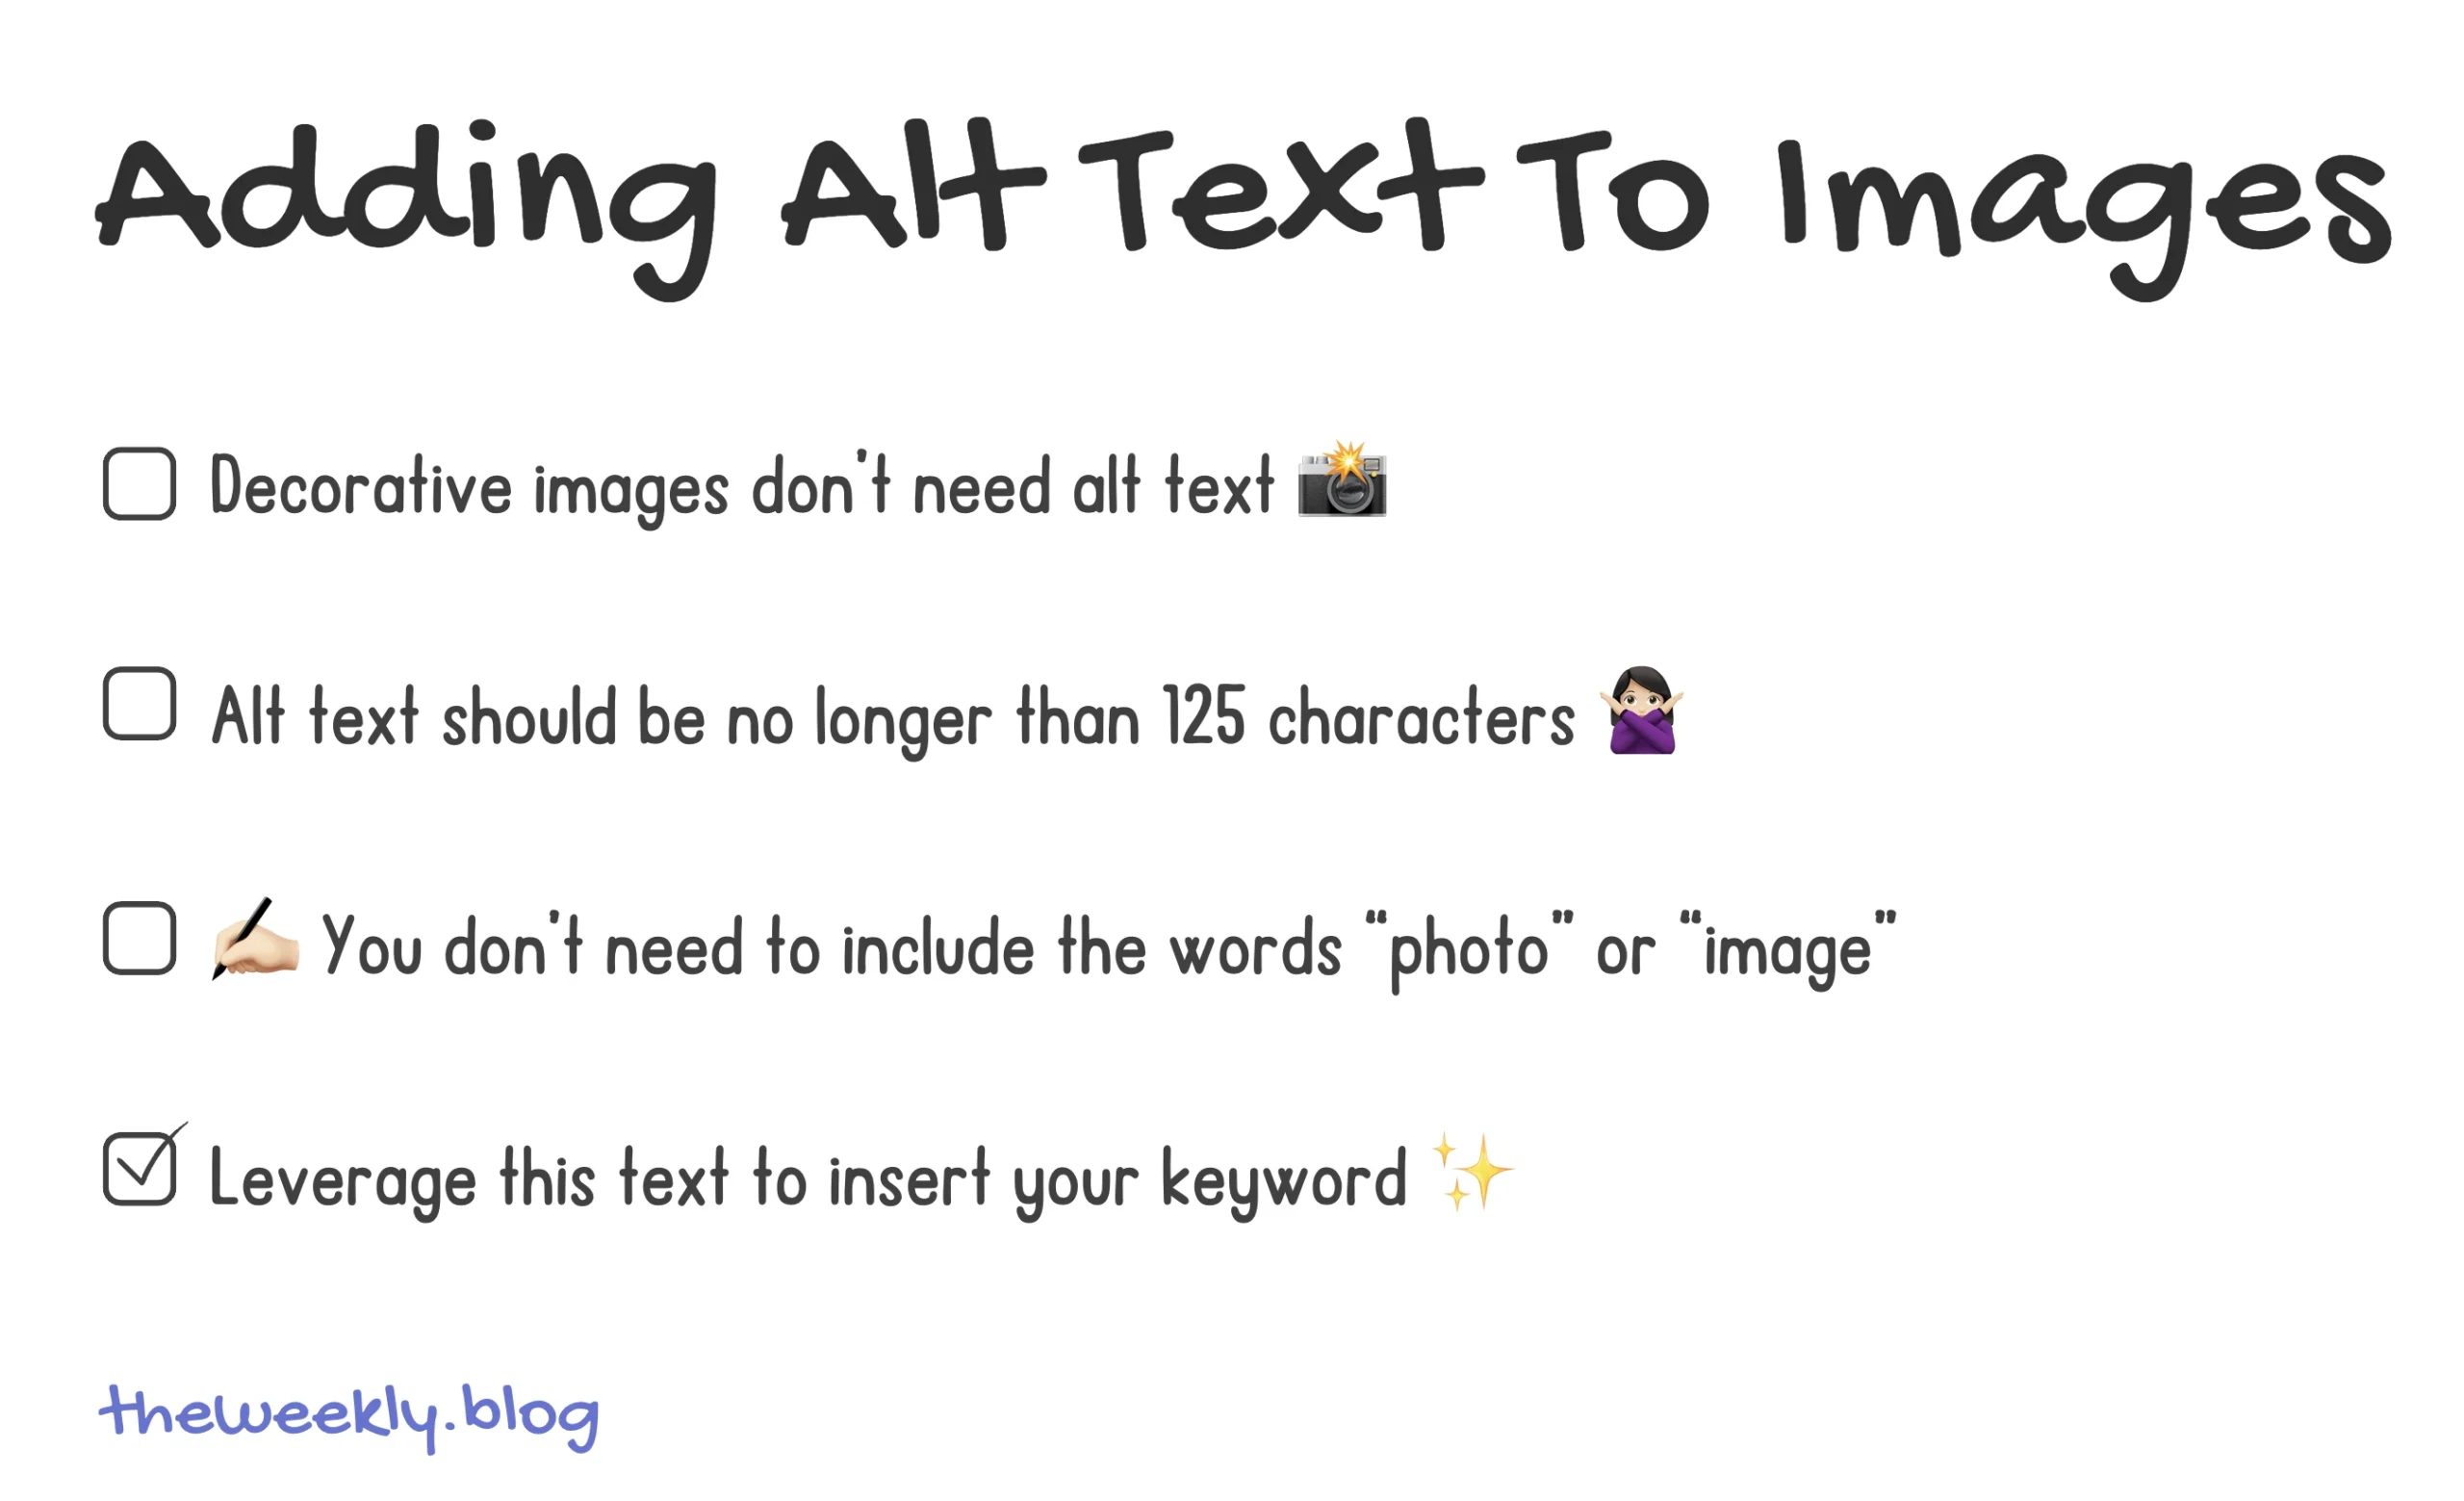
Image Dimensions, Image Compression, and all the Rest
5. Next would be to resize your images. This will help with the loading of your website and improving the User Experience (UX).
- You should choose an adequate size, depending on the purpose or function of your image. For example, a thumbnail will need a different size than a product 💻 image.
- Usually, you won’t need images that are wider than 2,500 pixels.
- You can also consider the 📲 devices your audience is on to resize accordingly. Use GA4 to see this data 📉.
- You can resize your images before uploading or use a plugin like Resize.
- To use this plug-in, go to Plug-ins > Add new > and search for Resize.
- Then you will go to Settings > Resize Image Upload > make sure the enable re-sizing option is on “yes”.
6. Compress your images. To compress images, you can use different tools. Clearly, when you compress an image, you will lose some details and depth in your images, but remember, we need things to load quickly.
- If you are a designer, creator, photographer, or other creative professional, Photoshop is probably your best option.
- For most people, I recommend using other tools. A good option is Squoosh, the image optimization tool I had mentioned before.
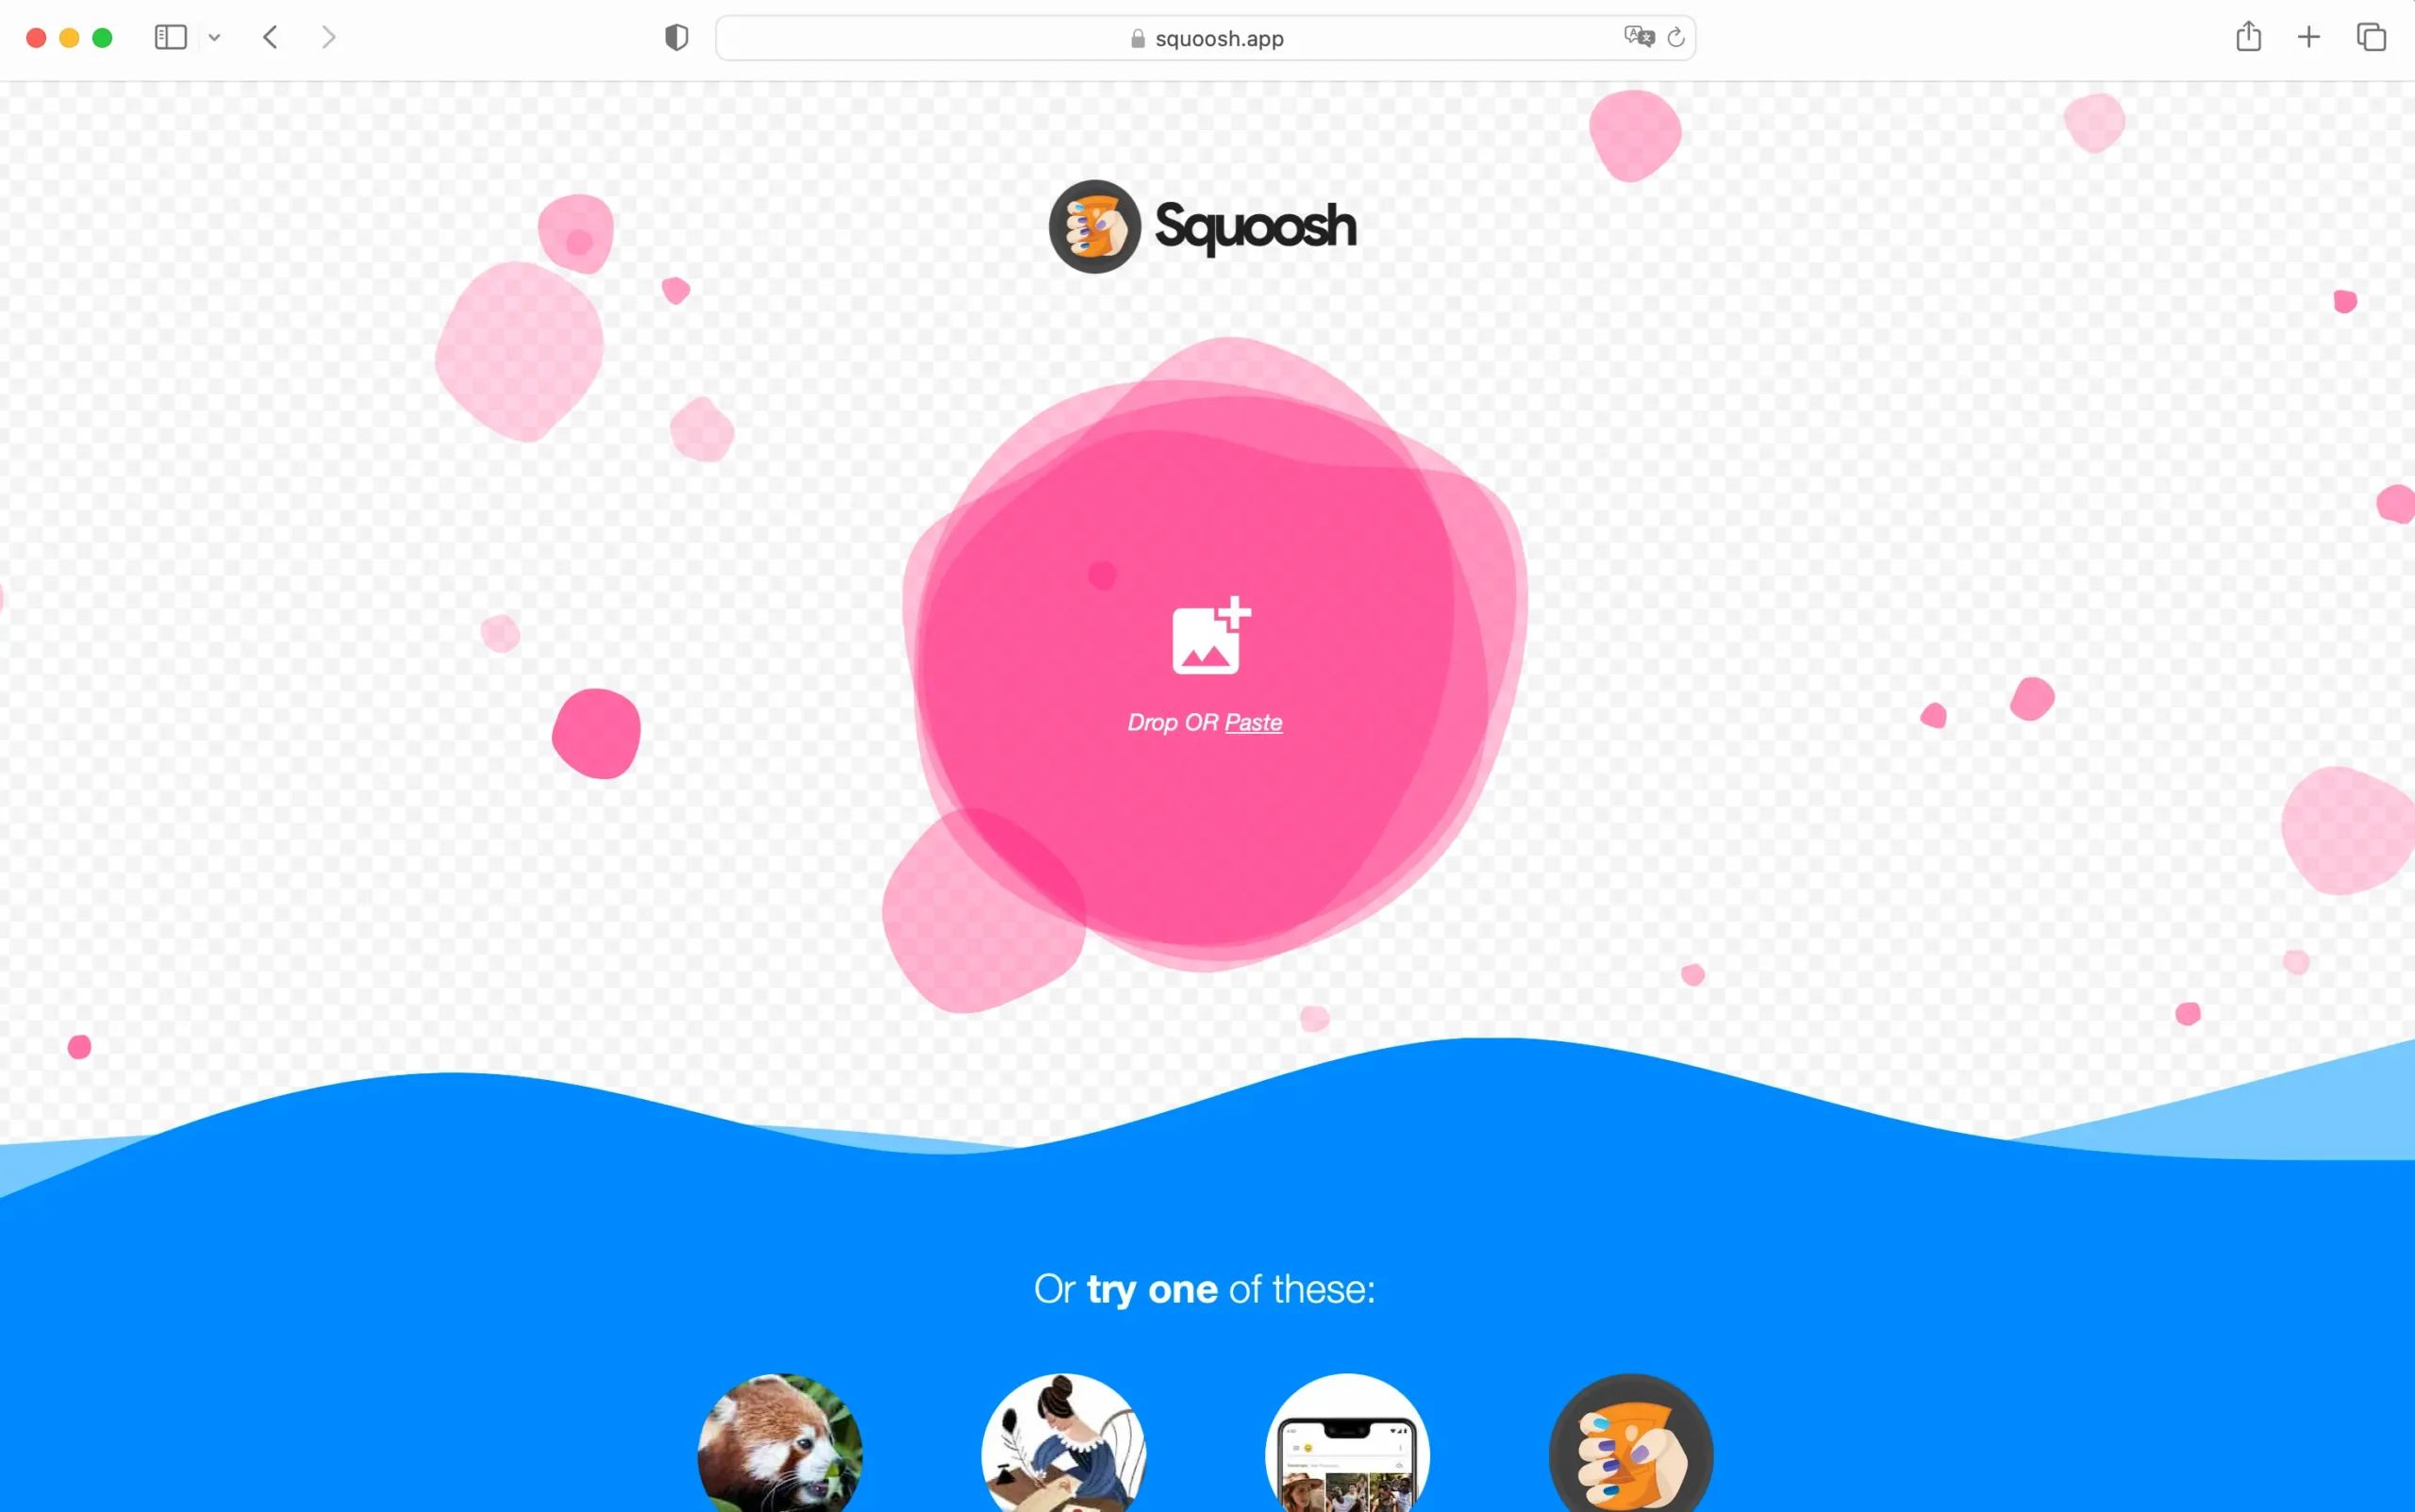
- I’ve compressed several images using this tool and its very simple and easy to use✔️.
- I usually only choose the compress option and make sure I keep enough quality in the image.
- What I like most is that it shows you in real-time the size of your file and the before and after as you make changes. This way, you can be sure that you don’t lose too much quality.

You can follow these ➡️ exact guidelines to achieve the right balance between file size and image quality ☑️.
- ✔️ Lossy vs. lossless: with lossy compression you can save more space, but it will affect the quality of your image.
- Lossless will maintain the quality but save less space. If you want to maintain the quality of your images, your best option would be lossless.
- If you need to save more space, then you can go for lossy.
- I want my pages to load quickly but I also want to preserve more quality in certain images. So, I choose the lossless option, which you can achieve with a simple click in Squoosh.
- 📸 Quality: Quality can range from 0 to 100. The higher the quality, the larger the file size. A good range is between 75 and 85.
- Resolution ✨: usually expressed in PPI or DPI. You want to keep this high as it represents the quality of the image. 72 dpi is a good option.
| Detail | Recommendation | |
| Compression ✔️ | Lossless: maintains quality but won’t save much space. Lossy: save more space. | Lossy |
| Quality 📸 | Ranges from 0 to 100. | 75 to 85 |
| Resolution ✨ | Expressed in PPI or DPI. | 72 dpi |
7. Responsive image scaling. This allows your images to adjust automatically based on the users’ screen size.
- It improves User Experience (UX) on any device and minimizes loading time, making it good for SEO.
- There are two ways to make images responsive through CSS or a plug-in.
- You can use CSS (which, if you are not a developer, and I don’t think you are, I wouldn’t recommend it). The easiest and probably best option is to use a plugin. This also depends on where your site is, for example Wix (which I wouldn’t recommend) does this automatically.
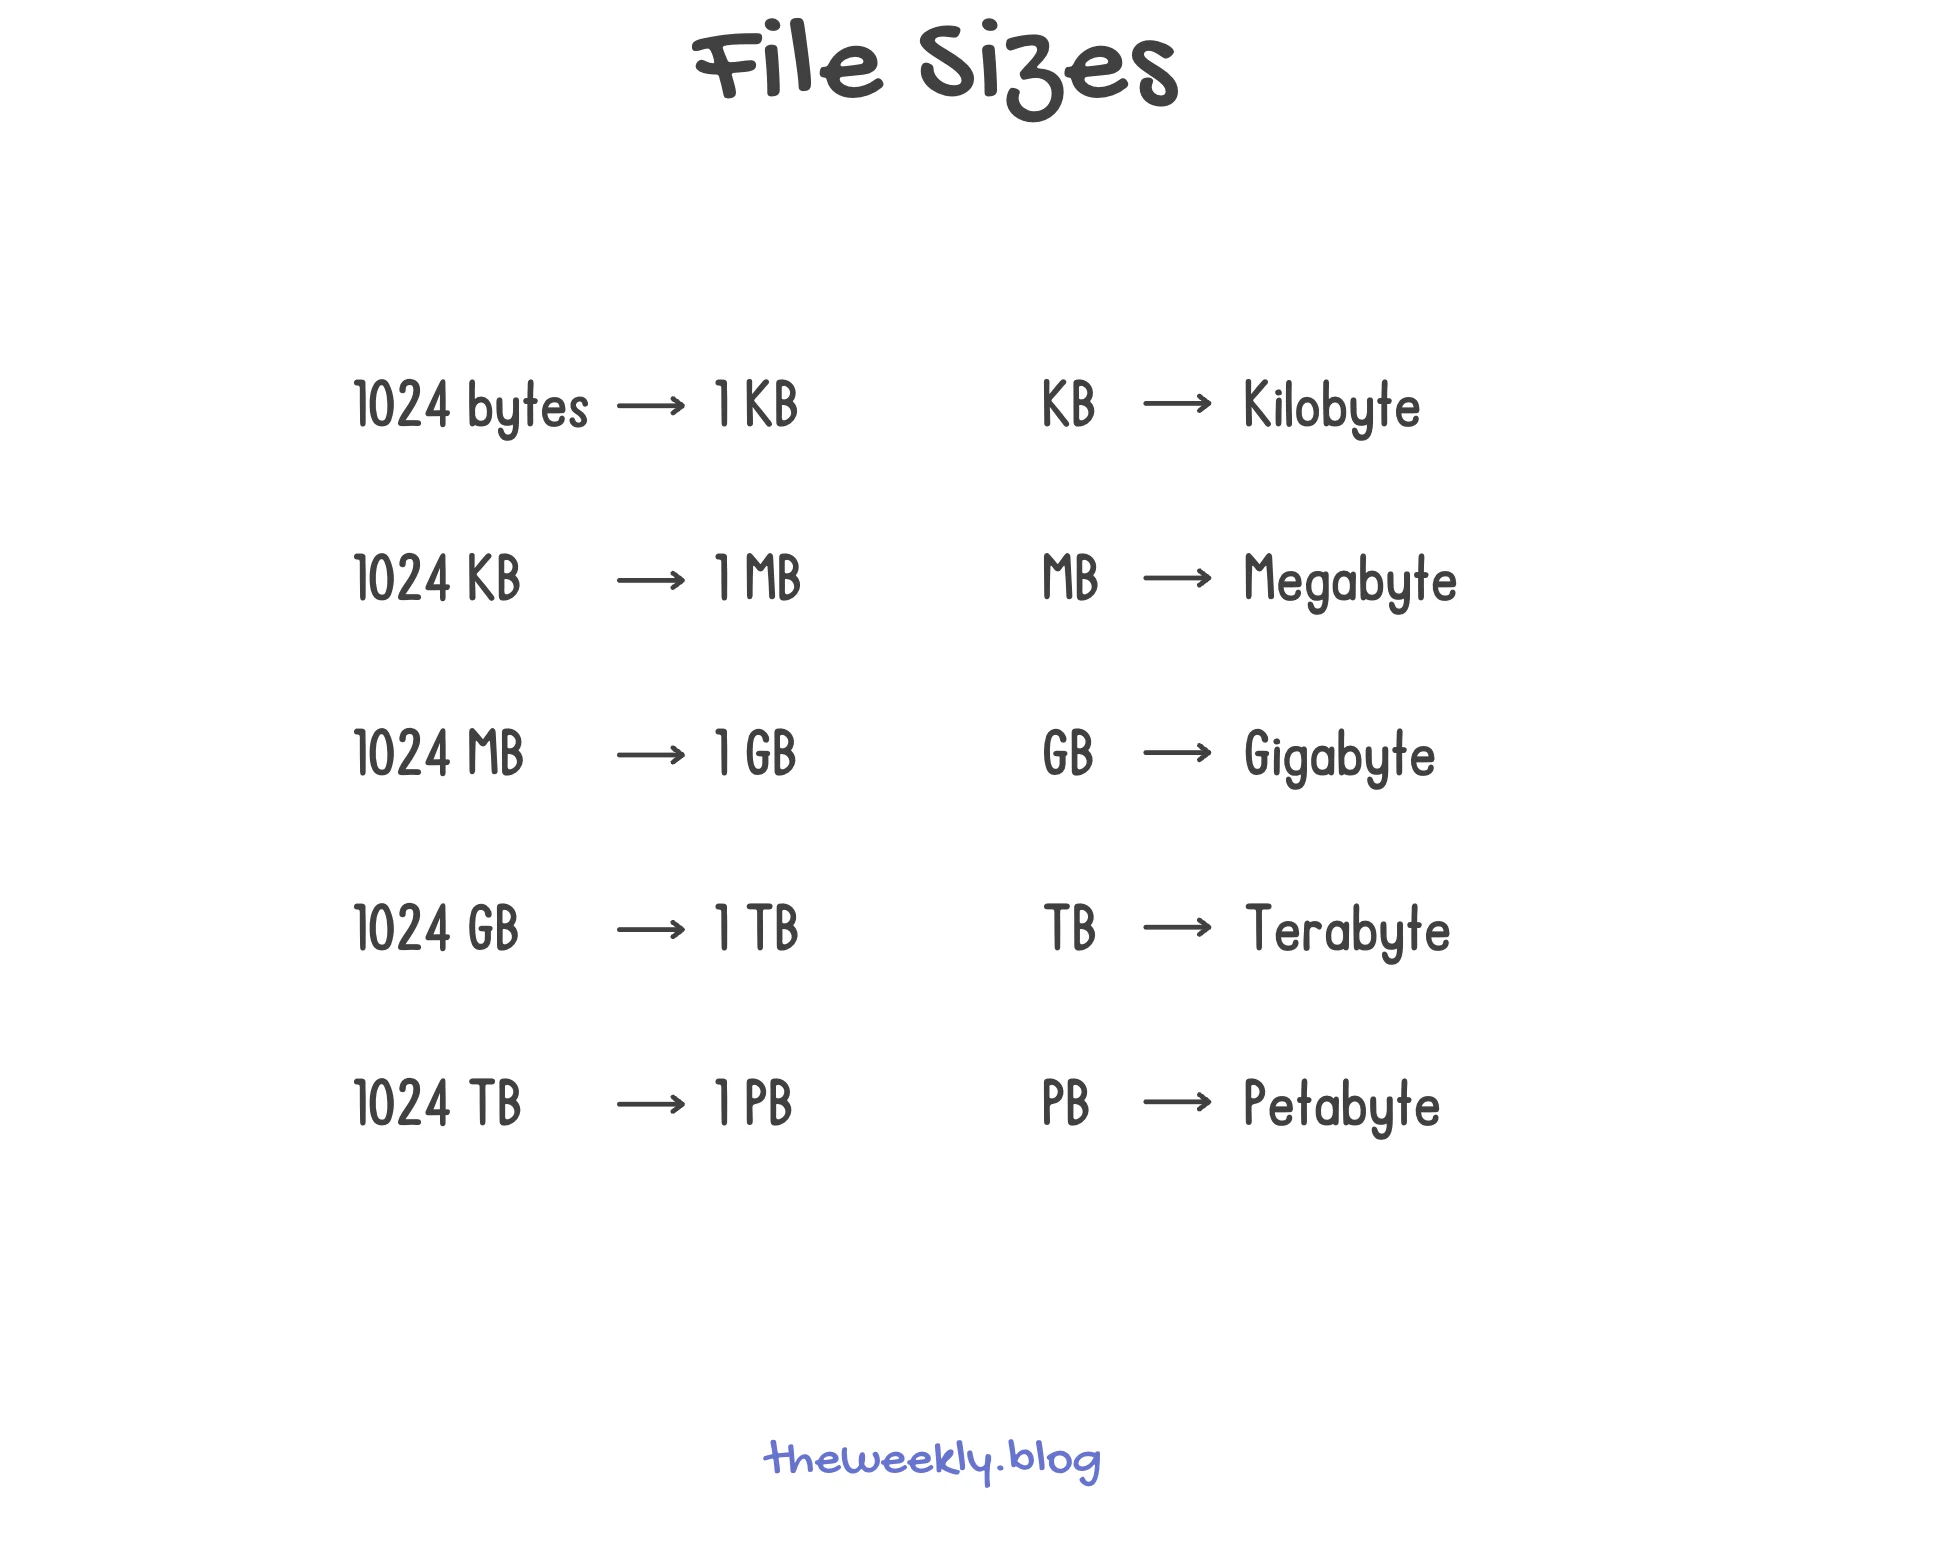
You can use this file size comparison as a reference.
Some Technical Things to Optimize Your Images
8. Enable Lazy Loading.
Before we even go into this, let me emphasize, don’t do this for images that are above the fold, don’t. It will make your website slower 🐢. You want to implement lazy loading for images below the fold.
Why? Quoting SEMRush: “lazy loading ensures content isn’t loaded until its shown” in the users screen 👩🏻💻. What this means is that the user doesn’t need to wait for all images on the site to load before they can see the content that fits on their screen.
- For example, if you have an image that’s above the fold, that image will load.
- But, if there is an image at the bottom of the page, users won’t have to wait for that to load before they see anything on their screen.
How to enable lazy load?
- This will depend on where your site is, but a plugin I would recommend is Smush. When you install the plugin just make sure that lazy loading is enabled, which by default it should be.
- Other website builders offer options to turn on or off lazy loading through a simple toggle ✔️. Before recurring to a plugin, you should Google if there is a toggle or default option for the website builder you are using.
9. Create an Image Sitemap. Again, how you generate a sitemap and what you need to do will depend on where you build your site.
- My recommendation would be to use a plugin. But before you look for a plugin, do some research on Google to find the best option for the builder you are working with.
- ✔️ There are plguins that generate the sitemap automatically, and you don’t have to worry about anything else.
10. One word: Cache ➡️ You want to enable the browser cache ASAP.
- Let me explain. If a user visits your site and you don’t have browser cache enabled, images 📸 will need to download and load every time.
- Conversley, if you enable cache, the user’s browser can store the images. So, every time the user revisits your site, it will load quicker 👩🏻💻.
11. Another recommendation is using a Content Delivery Network (CDN). I don’t consider this essential since by just implementing the previous points, I was able to improve loading time from 96 to 99. Which, in my case, meant that the First Contentful Paint (FCP) improved significantly.
How you can do this
- Some hosting providers offer this as part of their business or premium plans.
- After you choose one of those plans, it may be a matter of simply turning on or off CDN.
- In other cases, from what I´ve read on this, you may also need help from a developer. If you are interested in this and your hosting provider doesn’t offer it, you may want to do more research on it.
12. On-page SEO: improving on-page SEO can also help your images. You can start with two simple and super important aspects: title and meta description.
- It’s recommended that your title is no longer than 50-60 characters. The meta description should be about 105 characters.
You can read more about on-page SEO here
➡️ How to Improve Your Content Strategy in 2025 with SEO
13. Optimize Open Graph Meta Tags. This helps with how your page previews in other platforms like 📲 social media.
How to do this
- The easiest way to do this is through a plug-in that will do it automatically. Once you install a plug-in, you simply have to turn on the Open Graph Data feature.
- Again, this varies depending on what you are using. For example, if you are on Wix, you don’t need a plug-in, Wix does this automatically. If you are using Wix and want to review the settings, you can go to Marketing & SEO > SEO > SEO Settings.
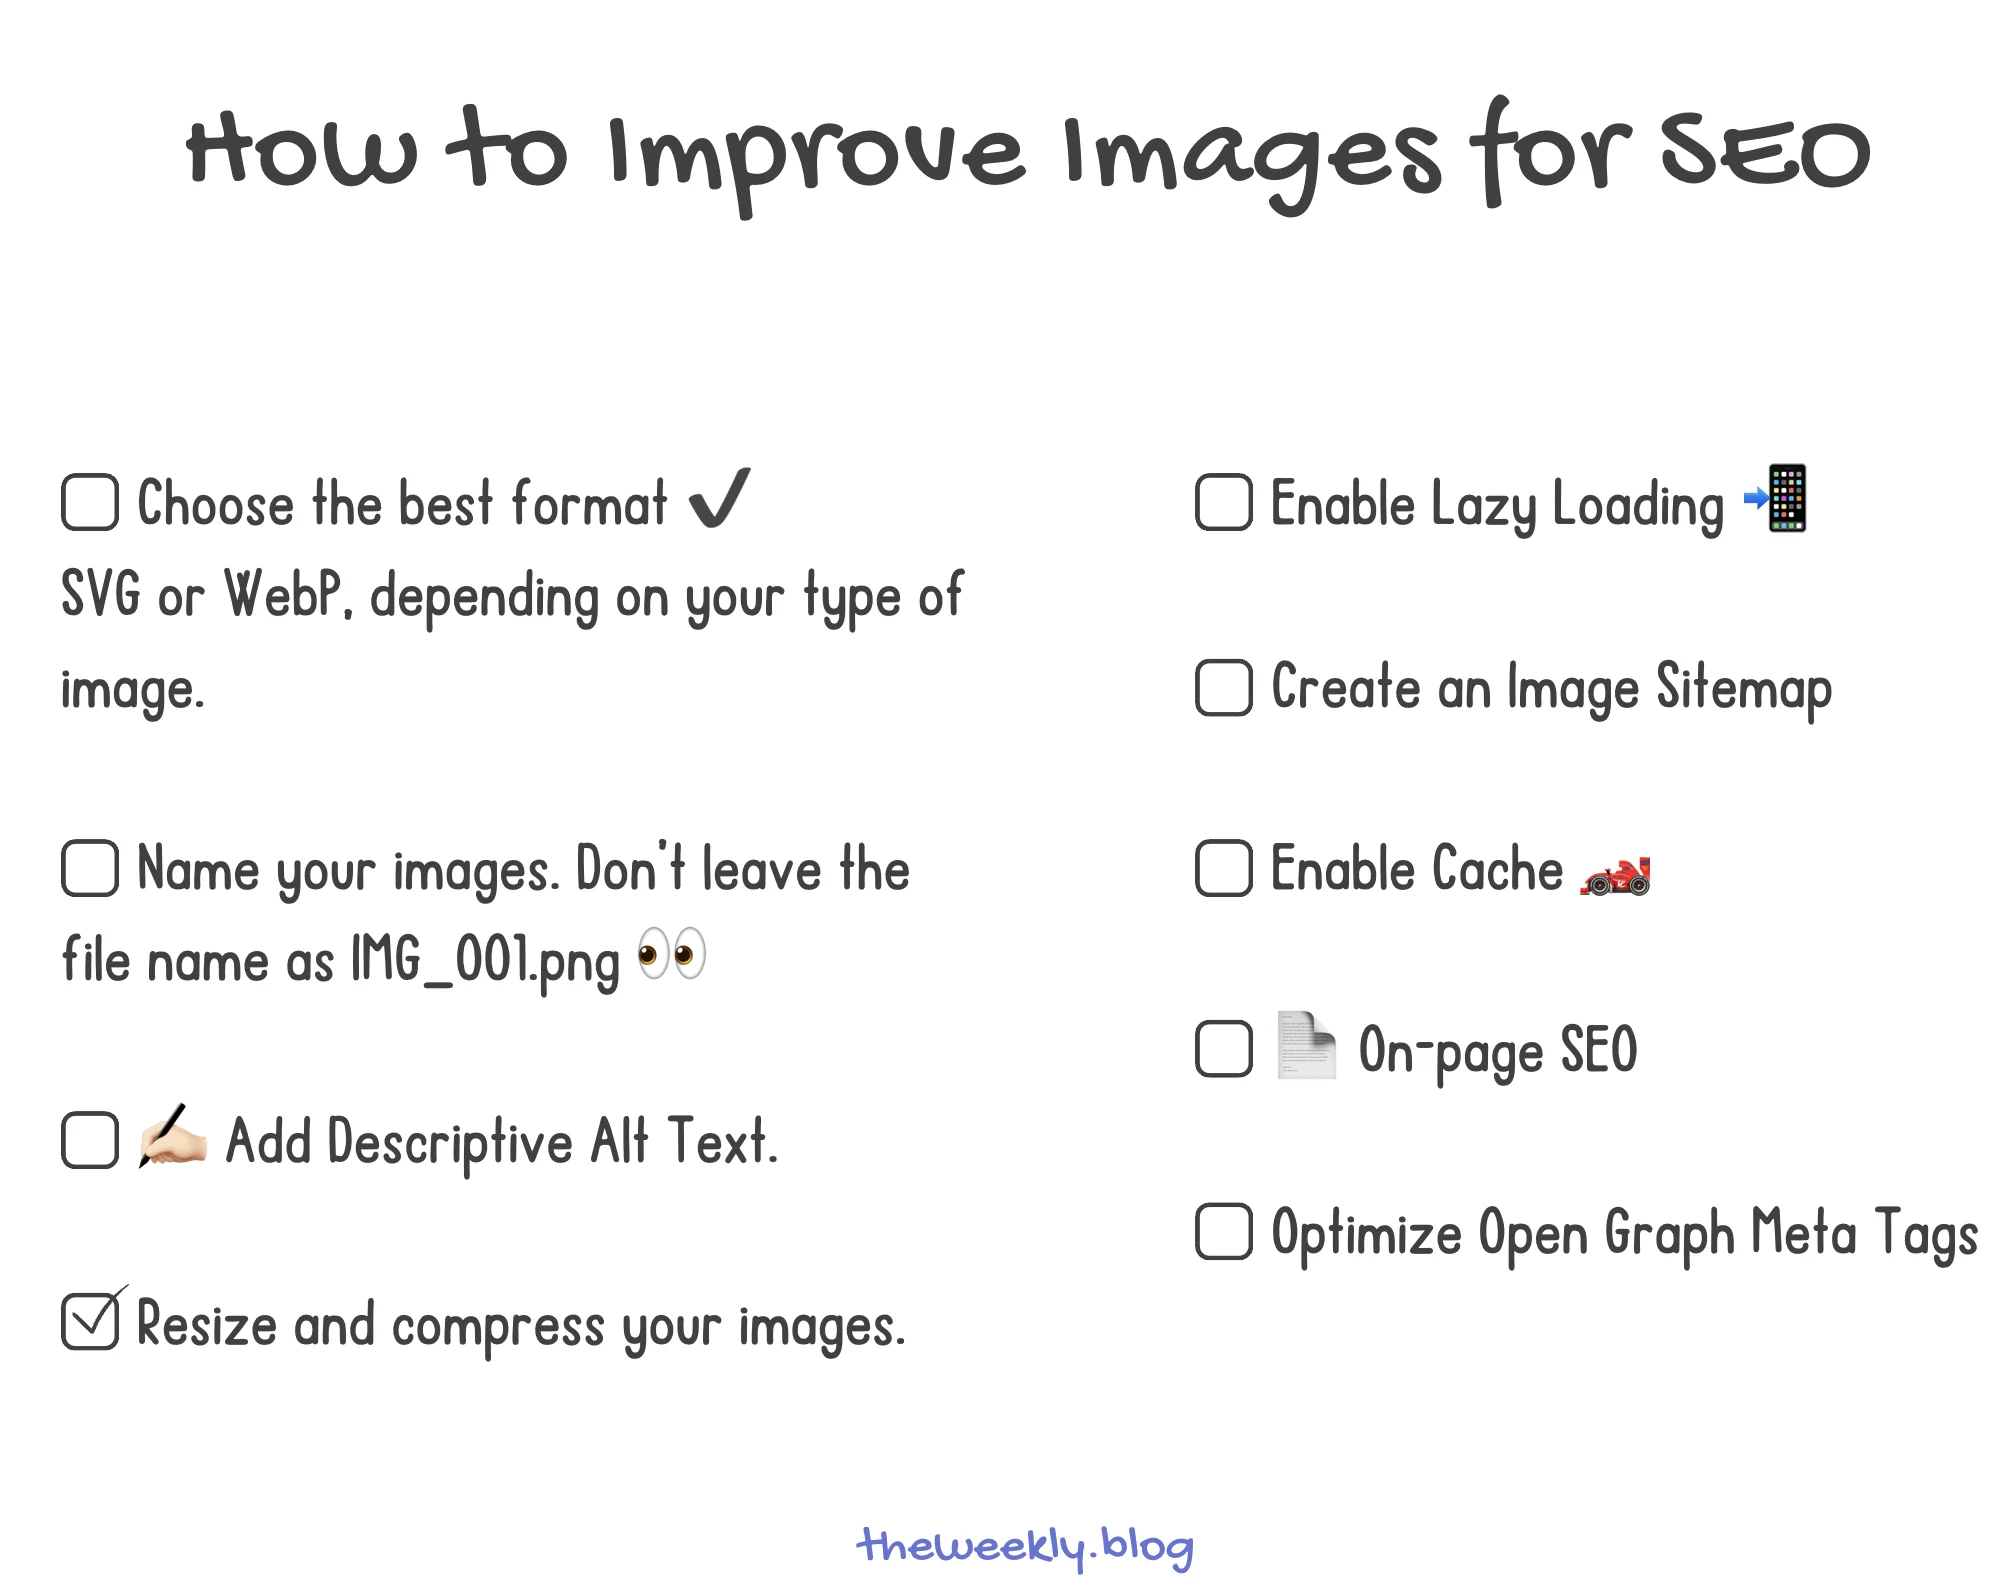
Finally, you can use this checklist ☑️ to make sure you’ve gone through all the steps. Following these best practices, you increase your probably of ranking higher, improving site speed 🏎️, and traffic.
Improve Your Images for SEO Checklist